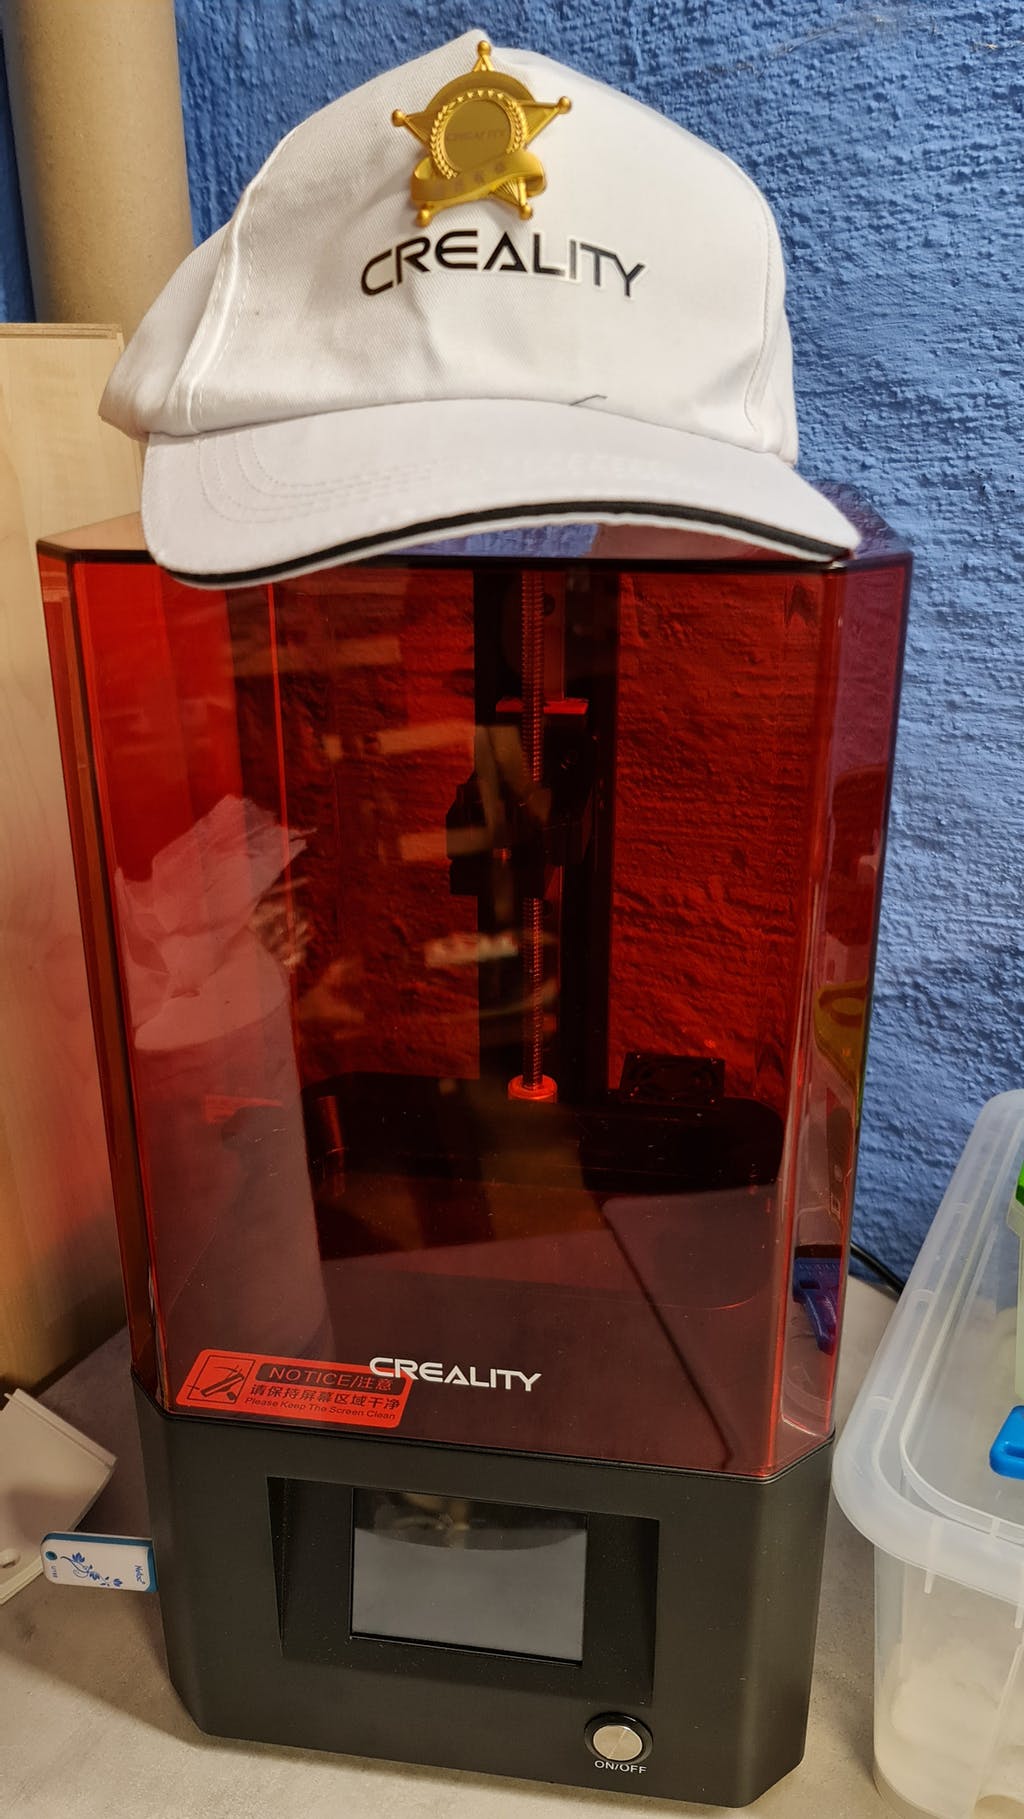


Flexible Steel Build Plates For LD-002R/LD-002H Resin 3D Printer(2 Sets)
$ USD
$ USD
Please select product attributes before purchasing~~
Flexible Stainless Spring Steel Build Plates for Resin 3D Printers (2 sets)
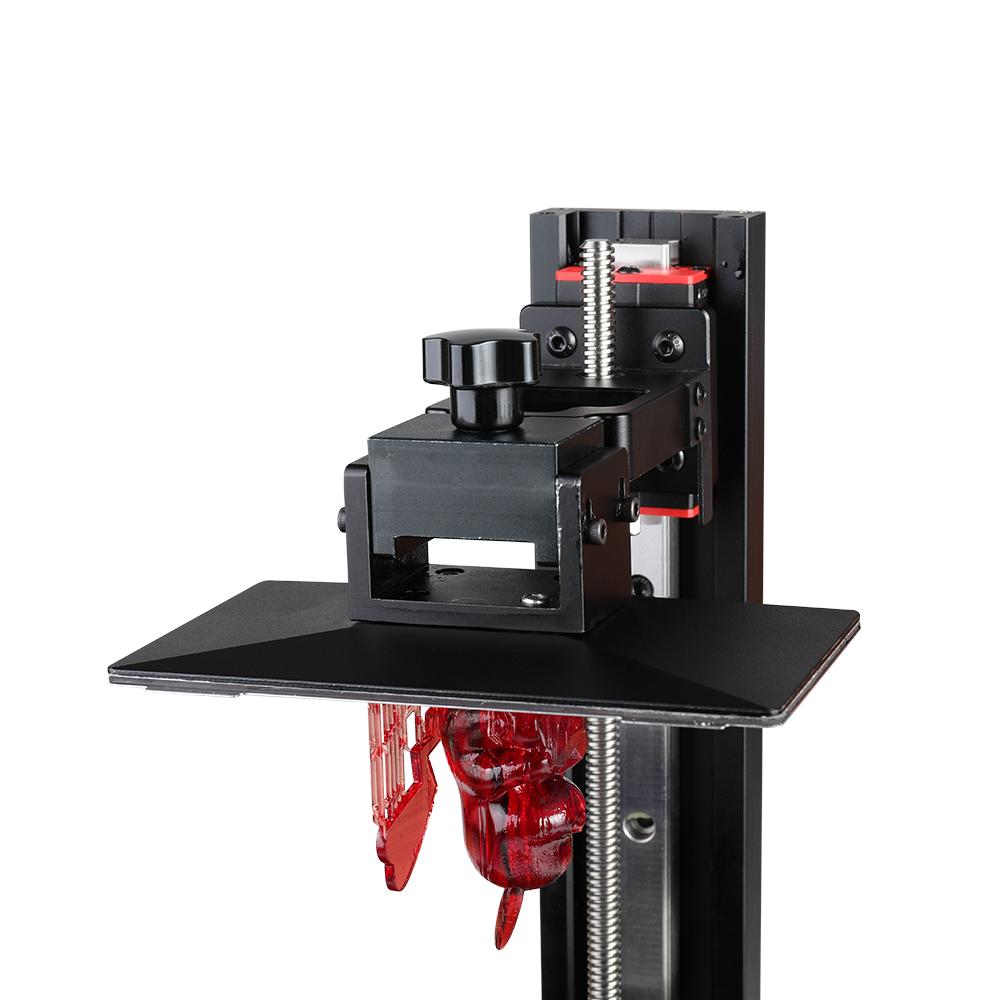
Do you know what’s frustrating about resin printing? The clean-up.
Removing prints without damaging either the print or the build plate is tricky. It’s all too easy to send your freshly-printed tabletop mini hurtling across the room with a misplaced jab of the spatula, only to have it crash to the floor, resting broken and sad in a puddle of slowly-curing resin.
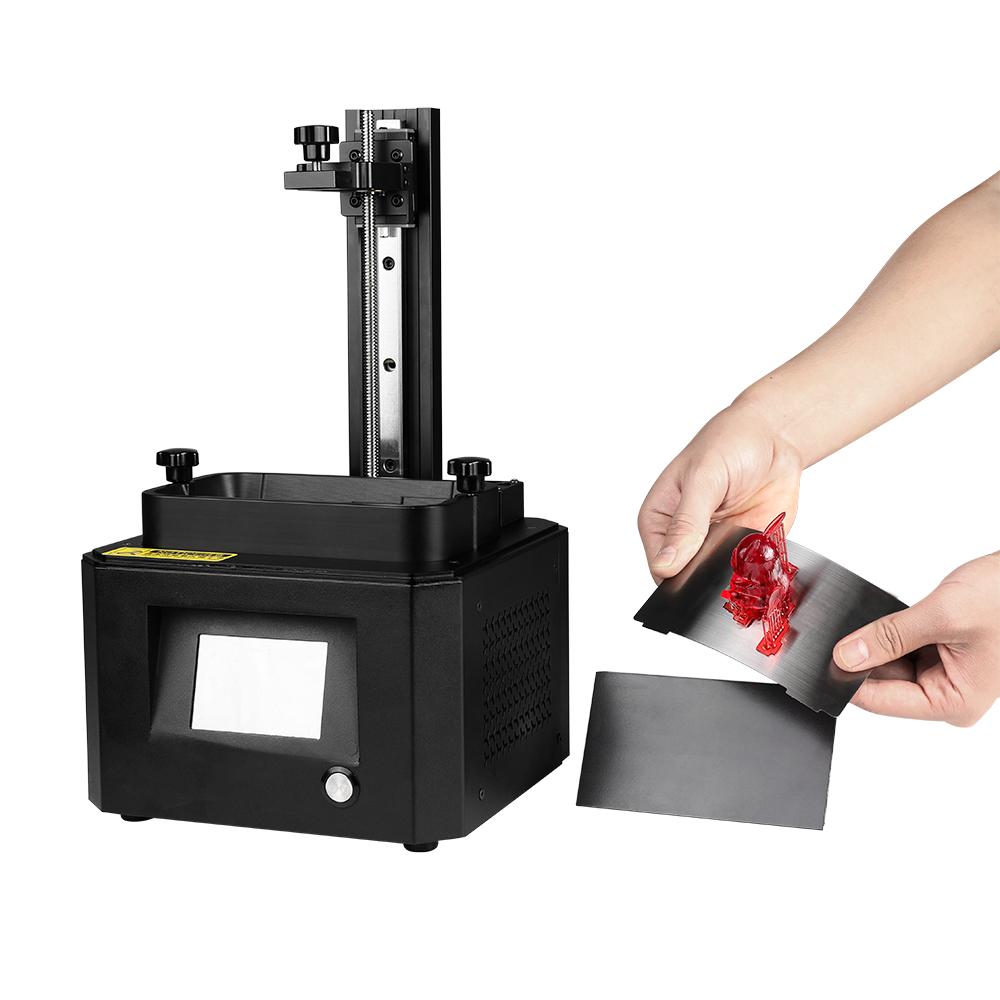
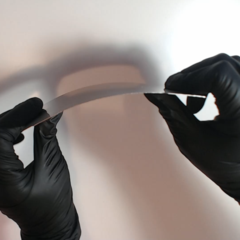
Thankfully, there’s a solution; flexible build plates. Just peel them off the printer with the handy tabs, give them wiggle, and pop! Your prints come straight off. Plus, if you have more than one flexible plate, you can start your next print while cleaning up your last. You’ll have that whole army of minis up in no time!
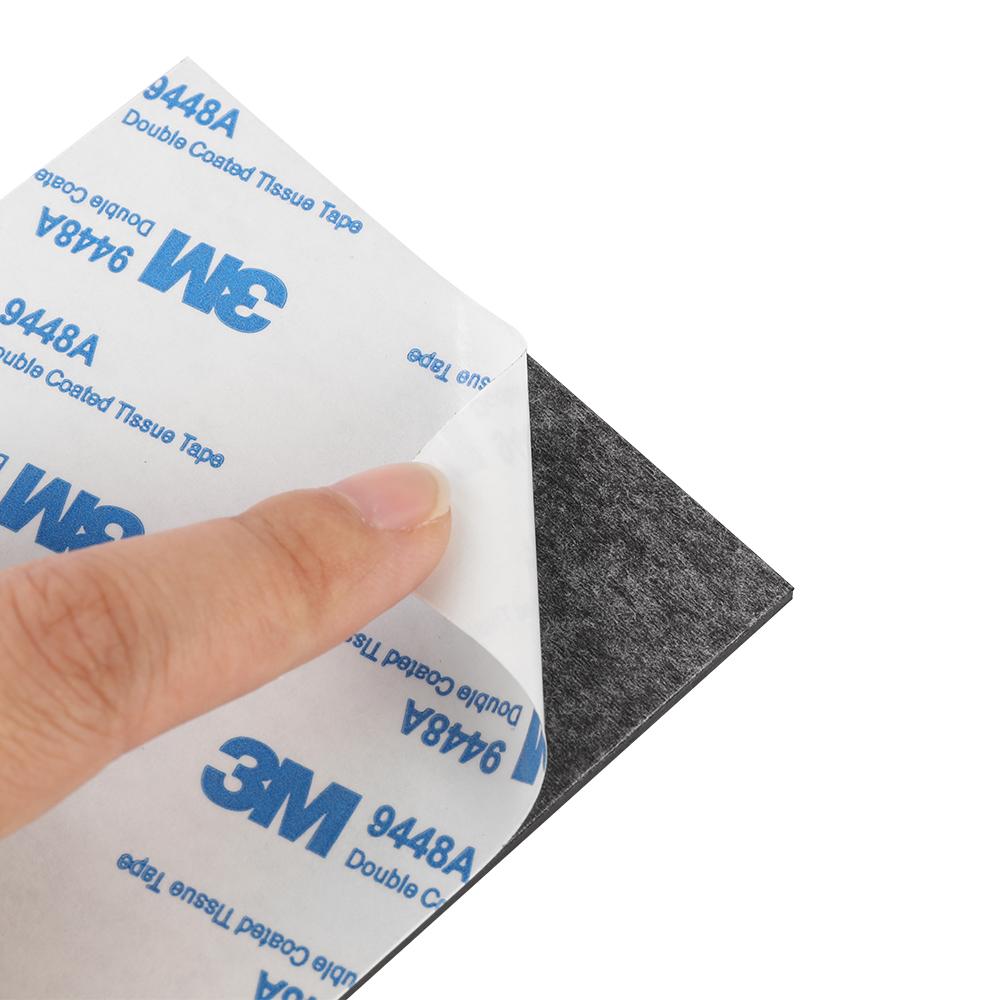
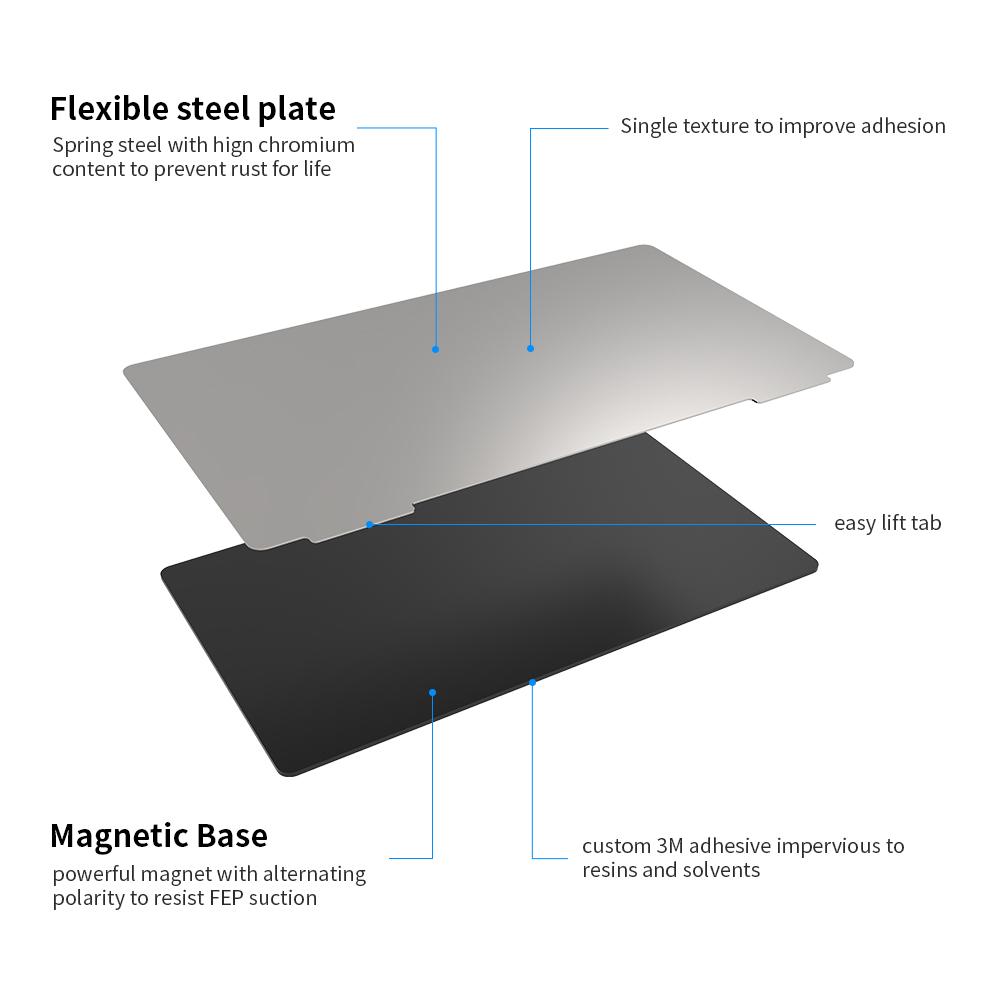
Getting started is easy; you attach a super-strong (alternating-polarity) magnetic base to the build plate of your favorite resin printer using the high-strength 3M adhesive supplied. It’s a special kind of adhesive that won’t react with resins and solvents but sticks super well to the metal of your build plate. Once the magnet is on and the adhesive is set, the stainless, spring-steel plate snaps right to it.
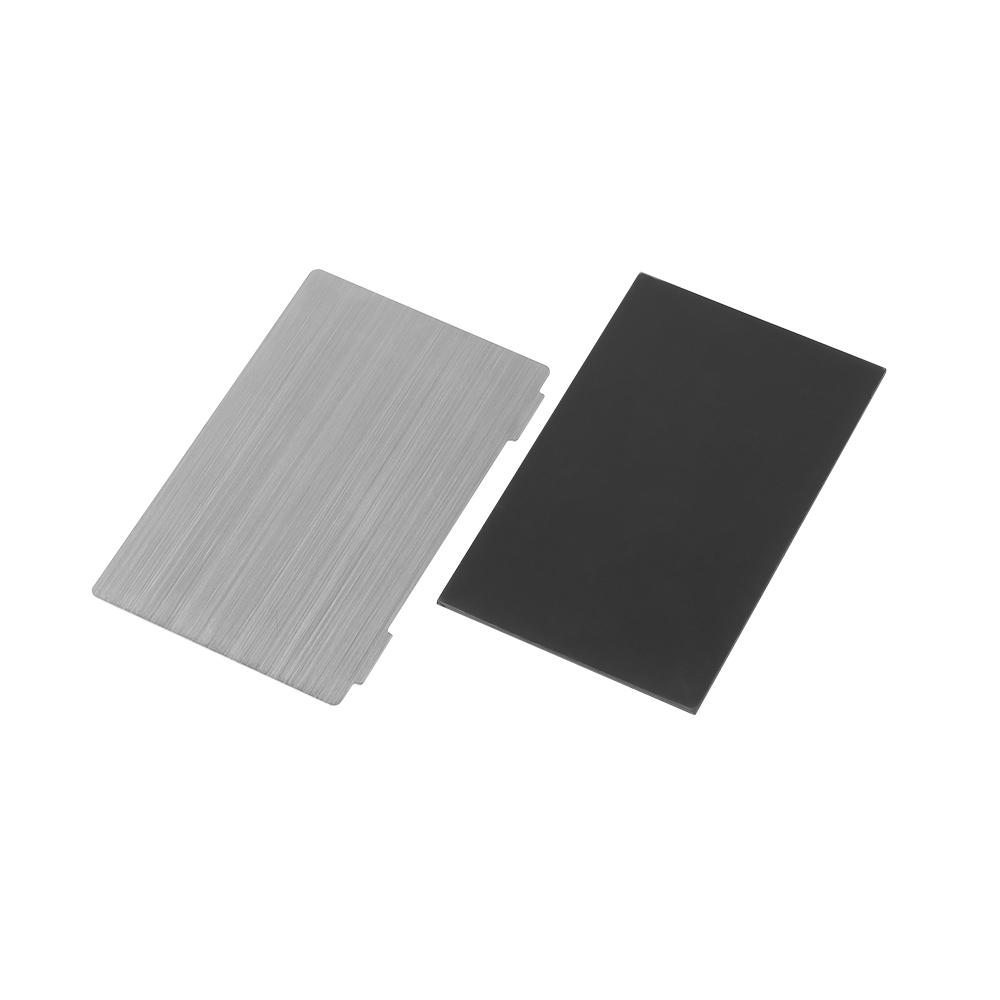
Re-level your printer to account for the added thickness, and you’re good to go! The stainless steel has a high chromium content (that’s the magic ingredient of stainless-steel), which keeps it safe from the corrosive compounds in the resins; while the brushed texture of the stainless-steel ensures your print can get a good grip to it, to help prevent warping and failed prints.
Your package will contain:
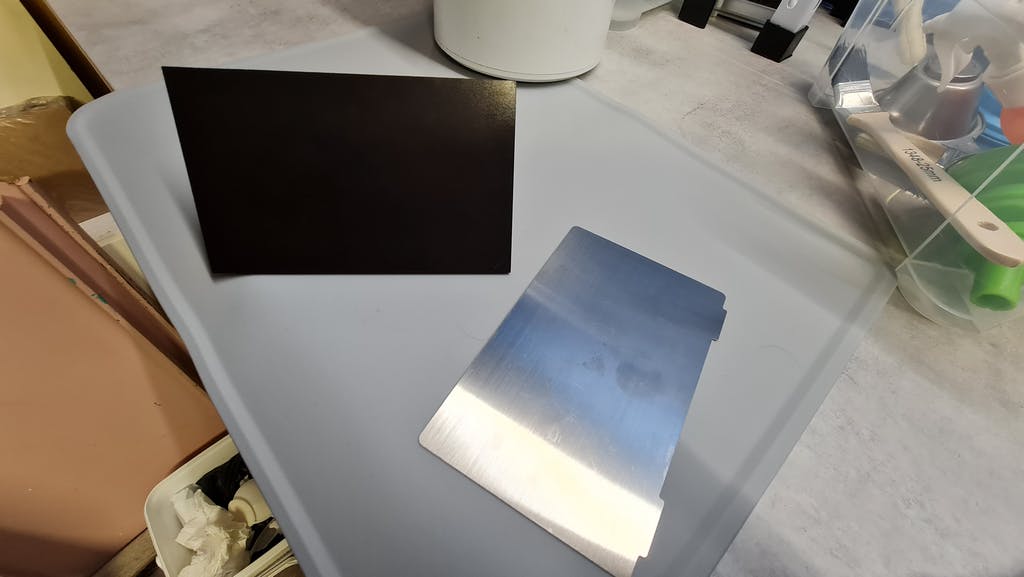
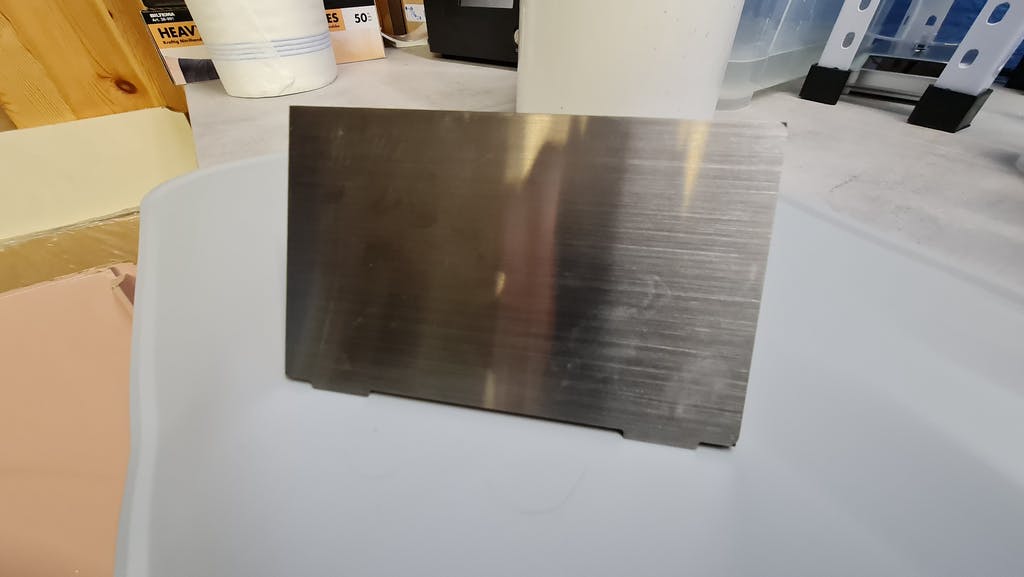
- 2x flexible stainless, spring-steel plates
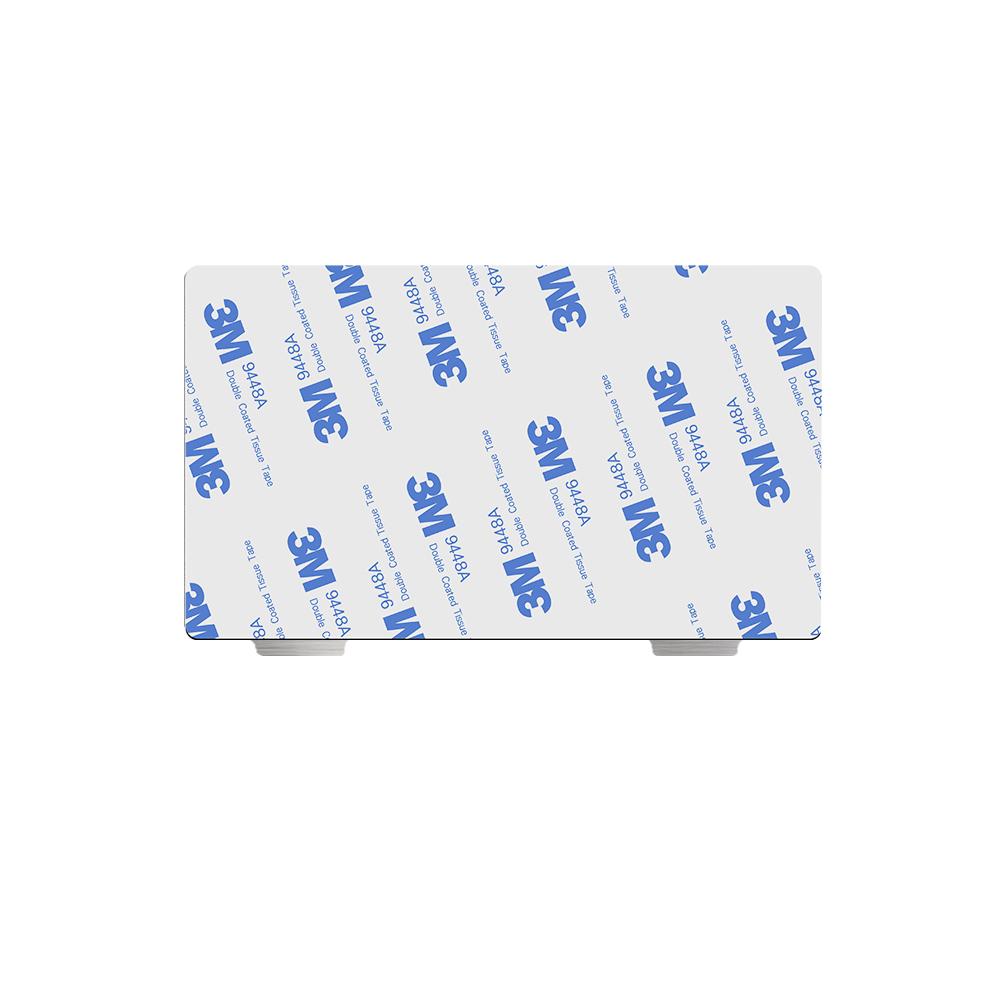
- 2x magnetic rubber sheets (with 3M-9448A adhesive attached)
Full Installation Instructions
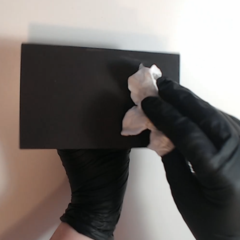
Note: ensure you always wear appropriate protective equipment when working with resin; e.g nitrile gloves, goggles, and respiratory protection.
|
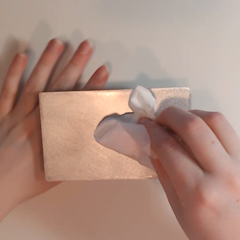
Ensure your build plate is thoroughly cleaned. |
 |
|
Check it’s the right temperature and humidity. Before you start, make sure the temperature of your environment is between 21°C-38°C (67°F-100°F) and the humidity is between 40%-60%. If the temperature is too low you can heat the build plate up a bit for this process. This temperature range only applies for the install process. Once the magnet is attached, and the adhesive set, it will work fine outside these temperatures. |
 |
|
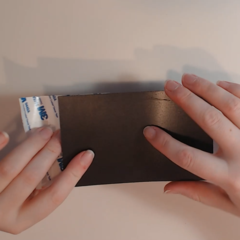
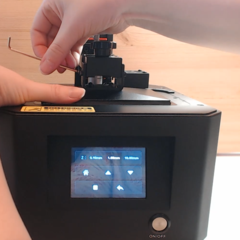
Install the magnetic sheet |
 |
|
Allow the adhesive to set |
 |
|
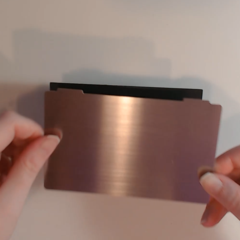
Place the stainless-steel plate onto the build plate |
 |
|
Re-level your build-plate |
 |
|
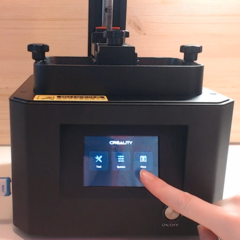
Print! |
 |
|
Pop your prints off |
 |
|
Clean the plate and magnet and reattach it |
 |
|
Care & Maintenance If your stainless-steel plate should become damaged with a scratch or mark, thoroughly clean it and sand lightly it with a fine grit to remove the blemish. Clean it again with isopropyl alcohol and allow it to thoroughly dry. The high concentration of chromium in these plates will work its magic upon exposure to oxygen, converting to chromium oxide which protects the plate from corrosion. |
|
に基づく 5 レビュー
Write A Review
Ask A Question