


Free shipping & Taxes Free
US/EU/CA/AU/UK Local Warehouse Delivery in 3-8 days
1 YEARS WARRANTY
Member-exclusive warranty extension
14 DAYS RETURN
Not satisfied? Return to us


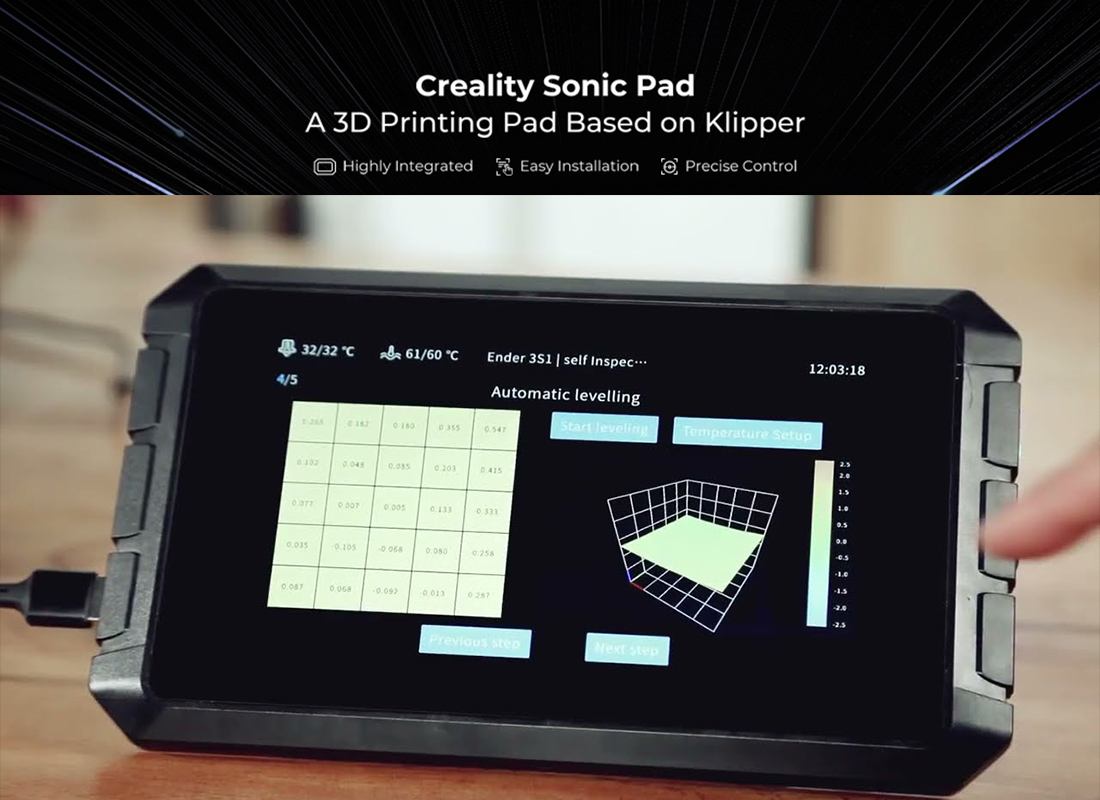
In this article, we tested the following features of Creality Sonic Pad
- Simplified Klipper operation
- Easy Connect to Ender-3 Series
- real-time monitoring and time-lapse shooting
- 10%~30% printing speed up
- Input Shaping (Resonance compensation Features)
- PID Tuning (calibrate hotbed temperature)
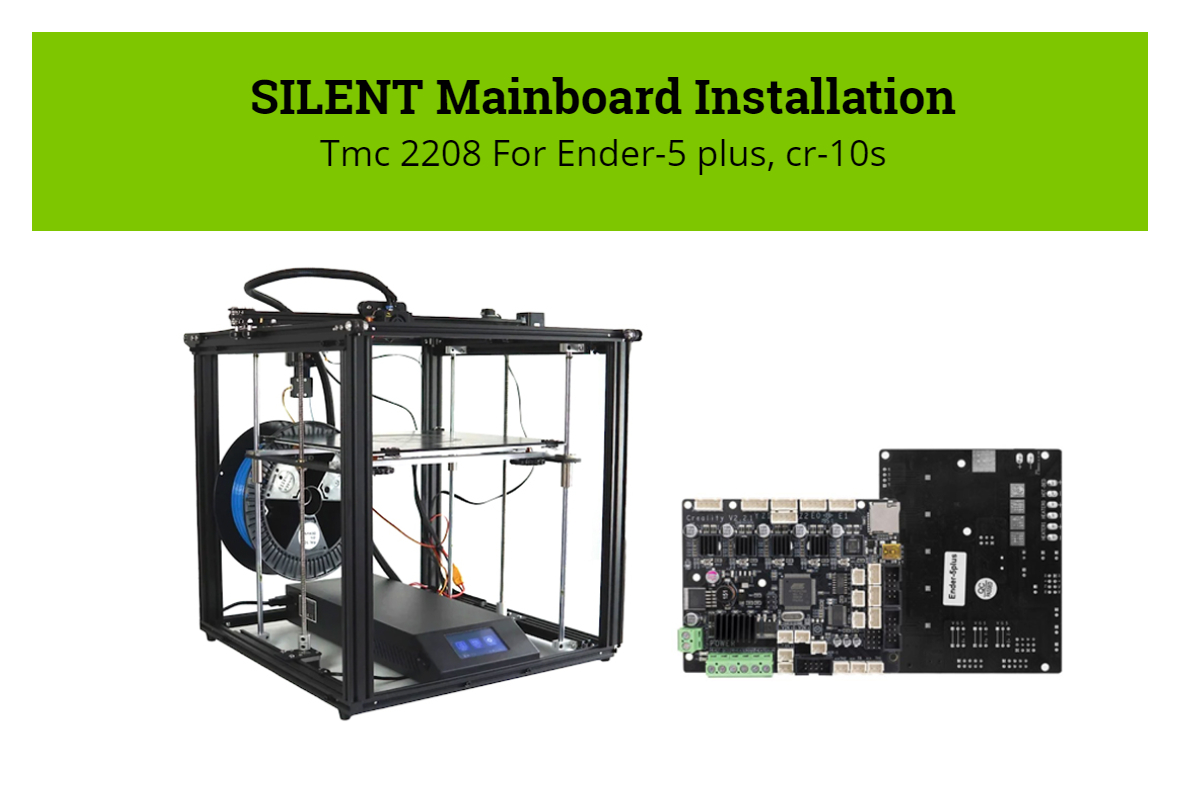
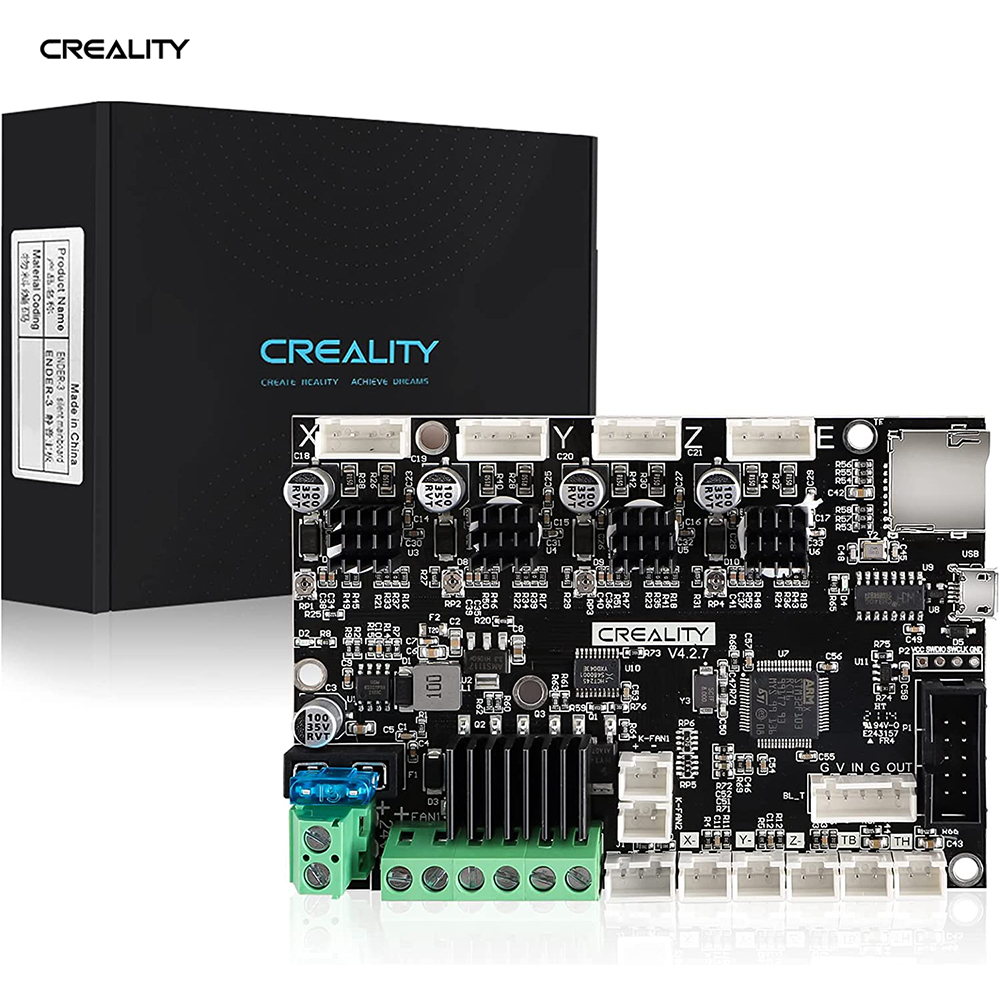
The silent board is a great upgrade for the Ender 5 Plus. The new mainboard is basically the same as the original Ender 5 Plus board TMC2208 Driver. Take the time to read this article before you need to install your new motherboard
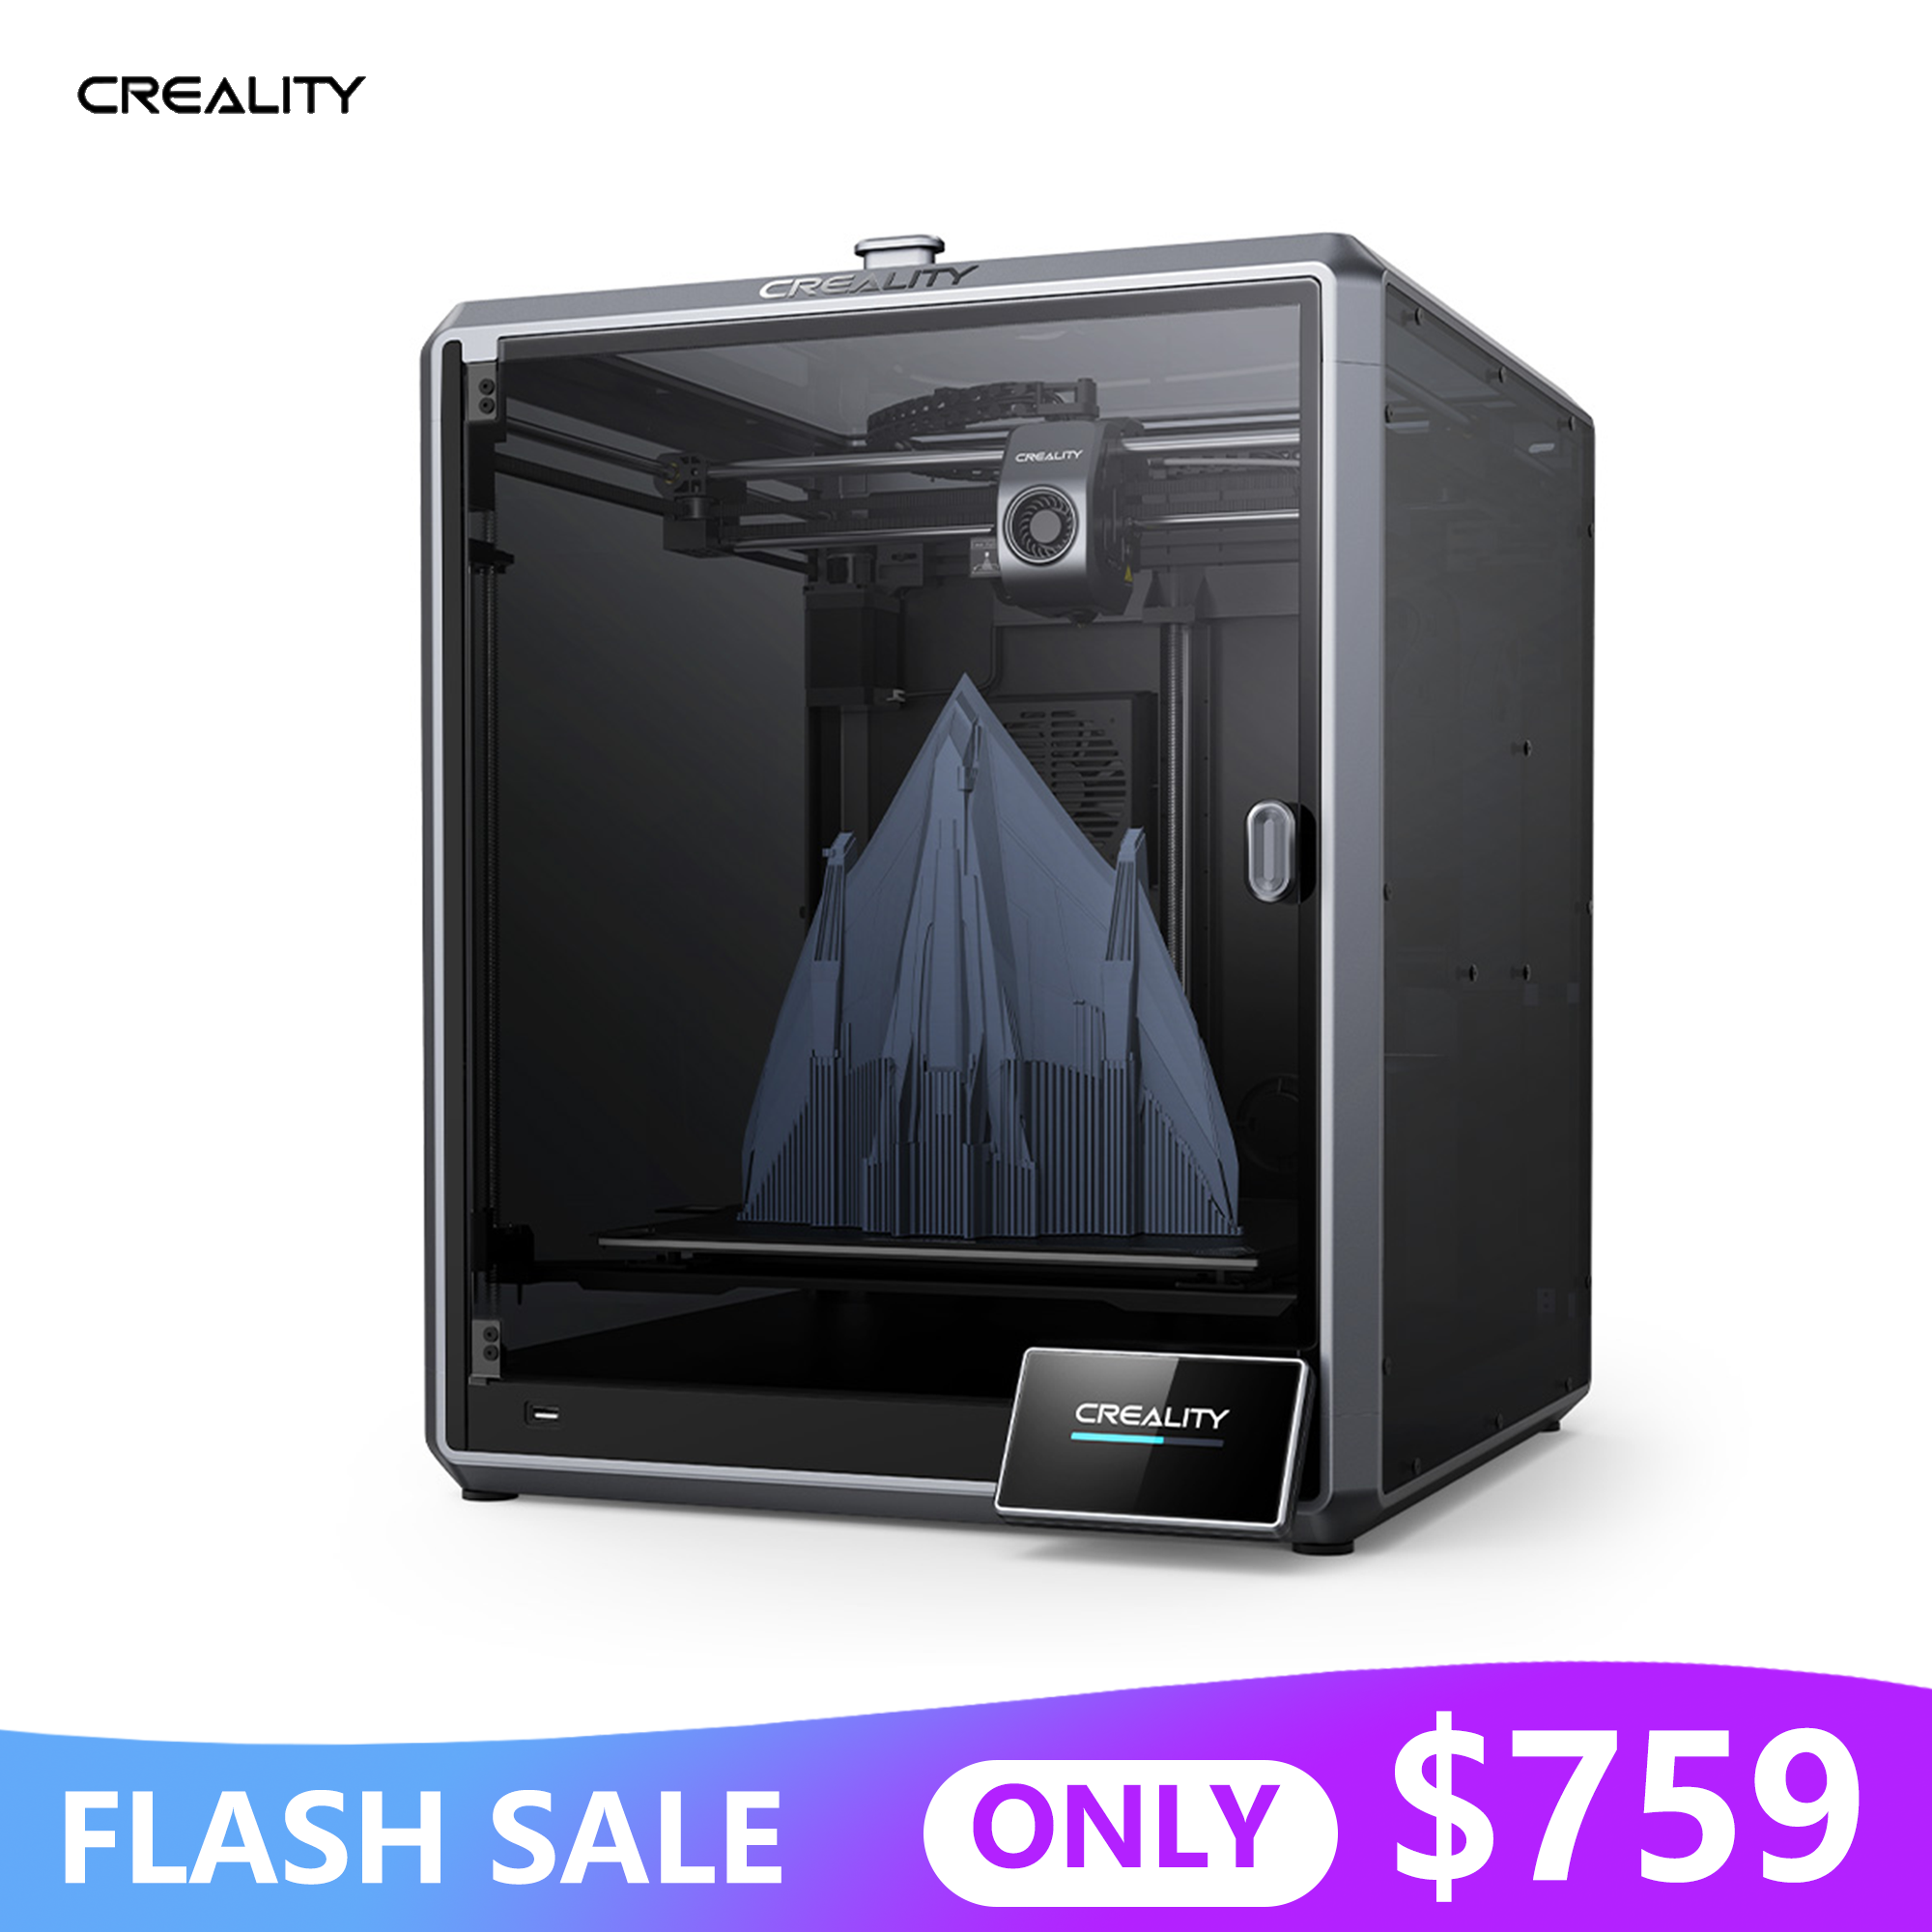
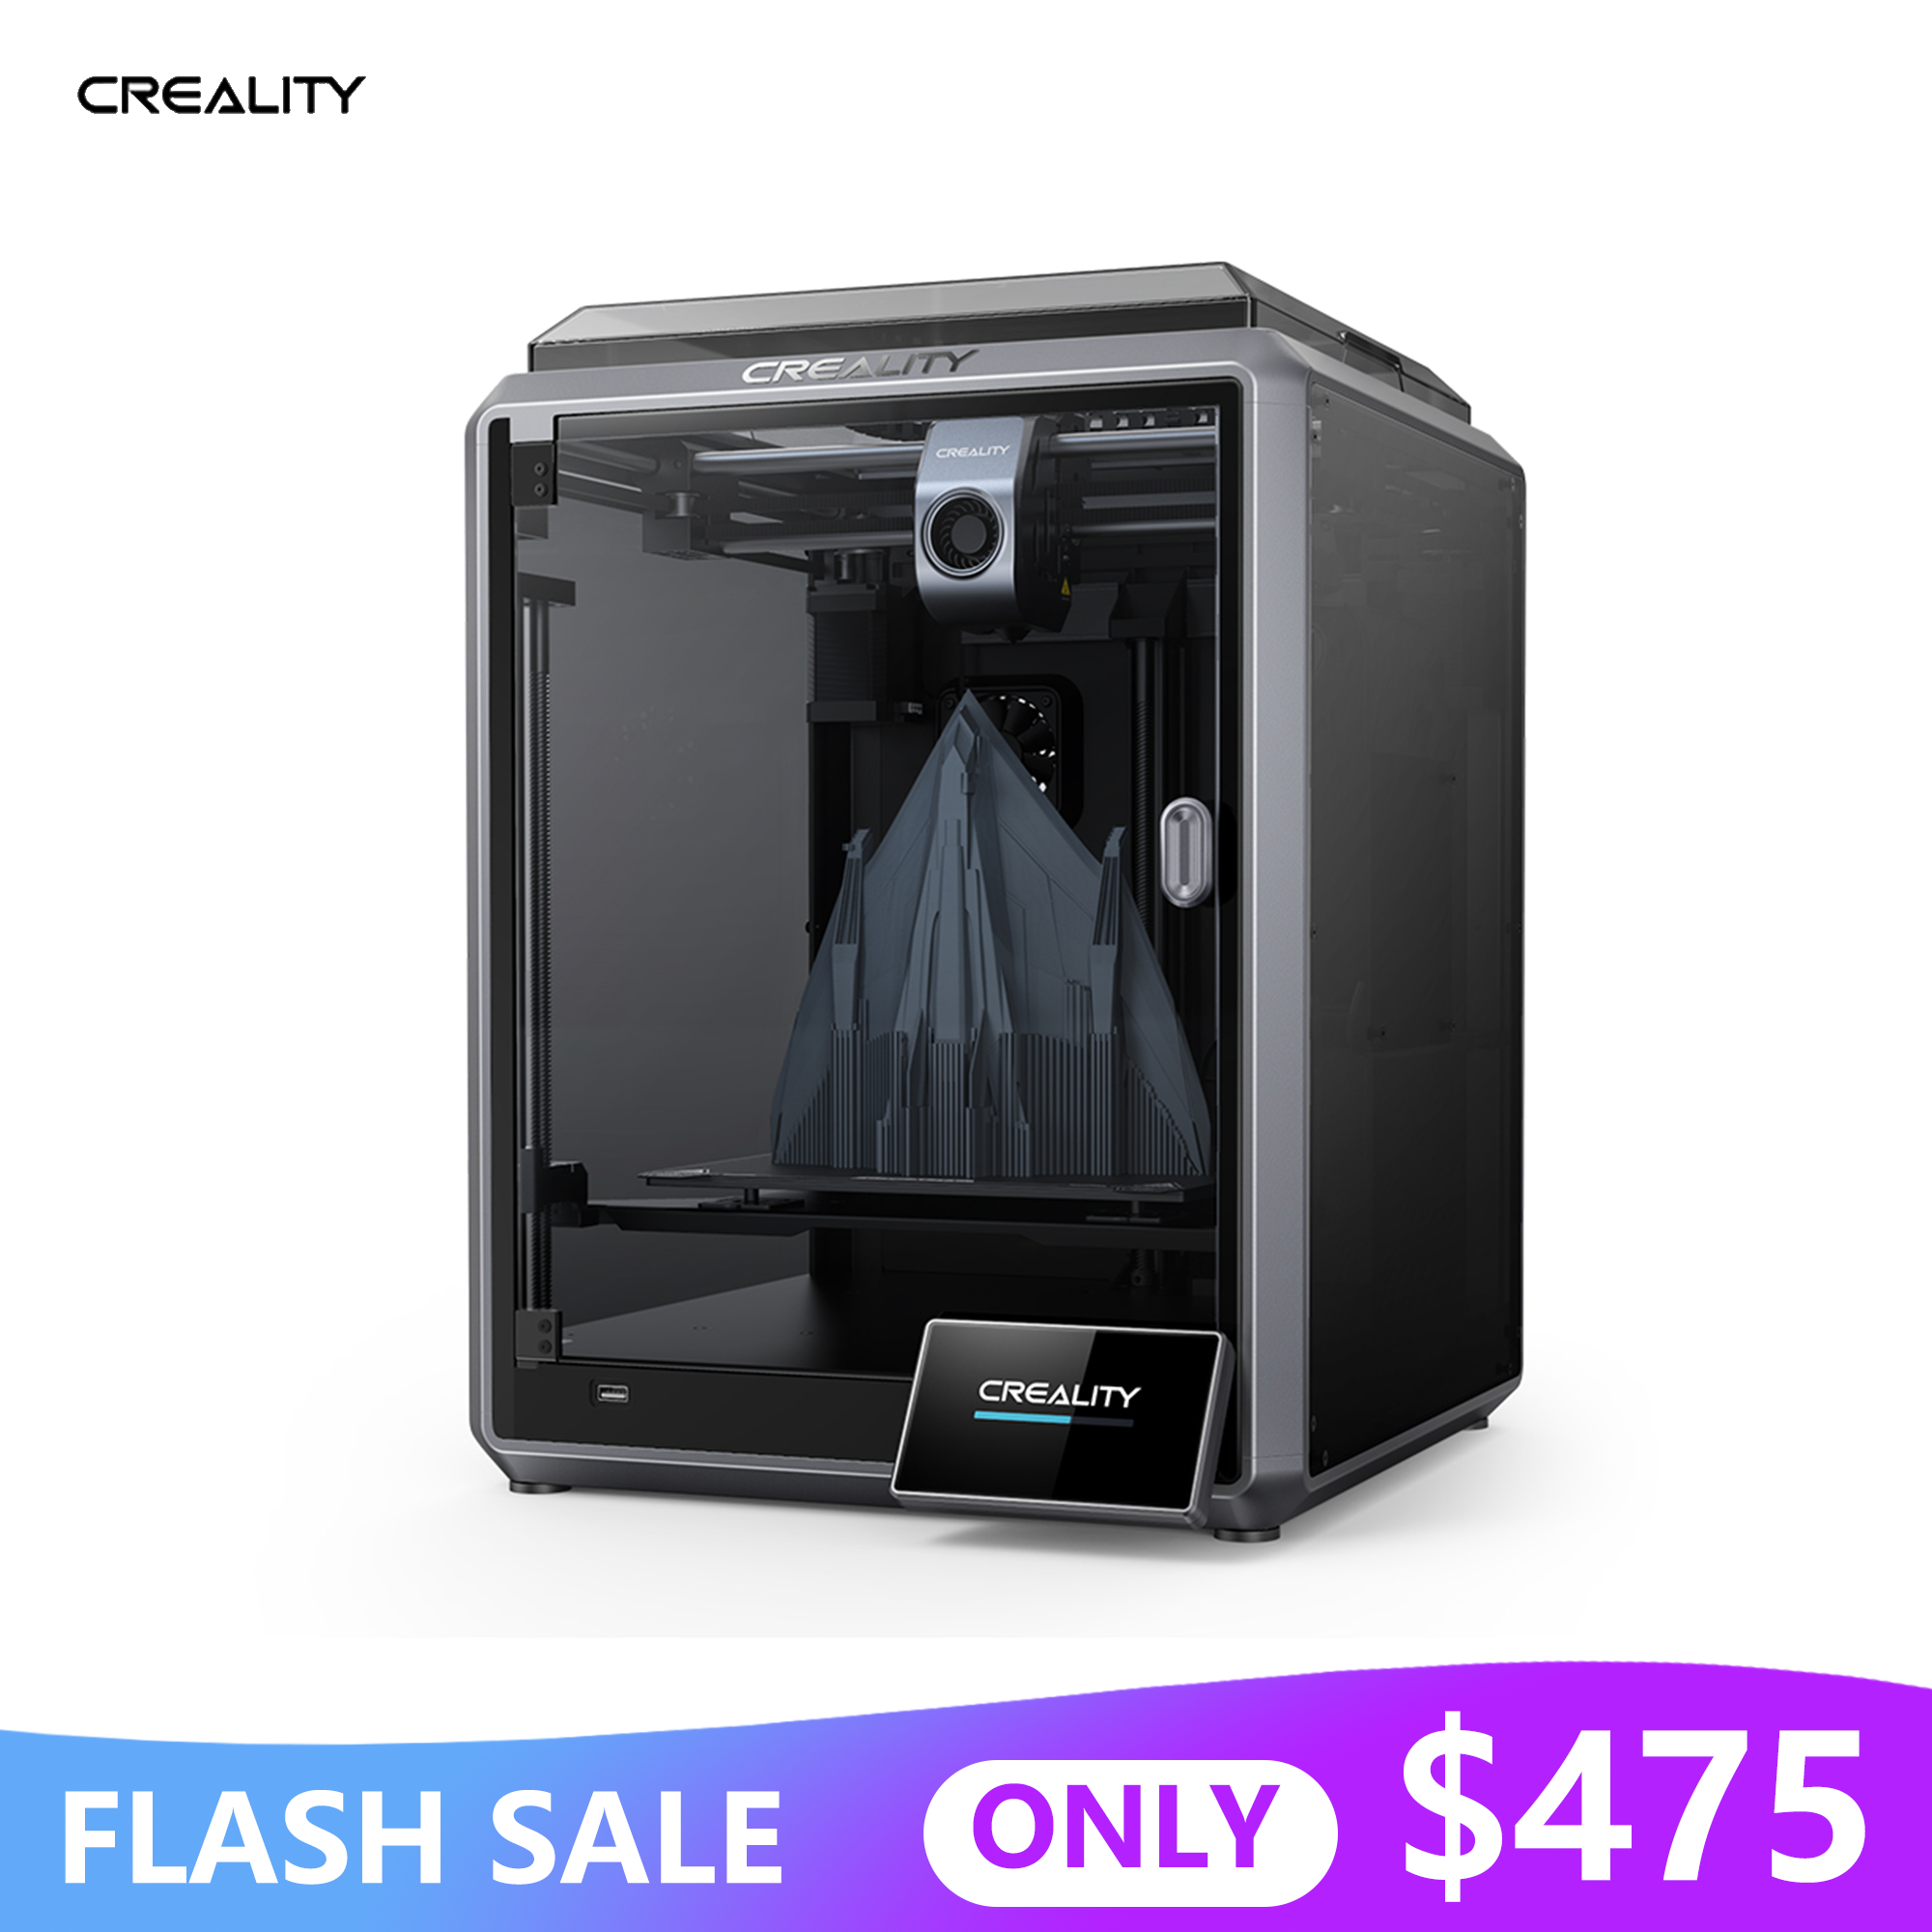
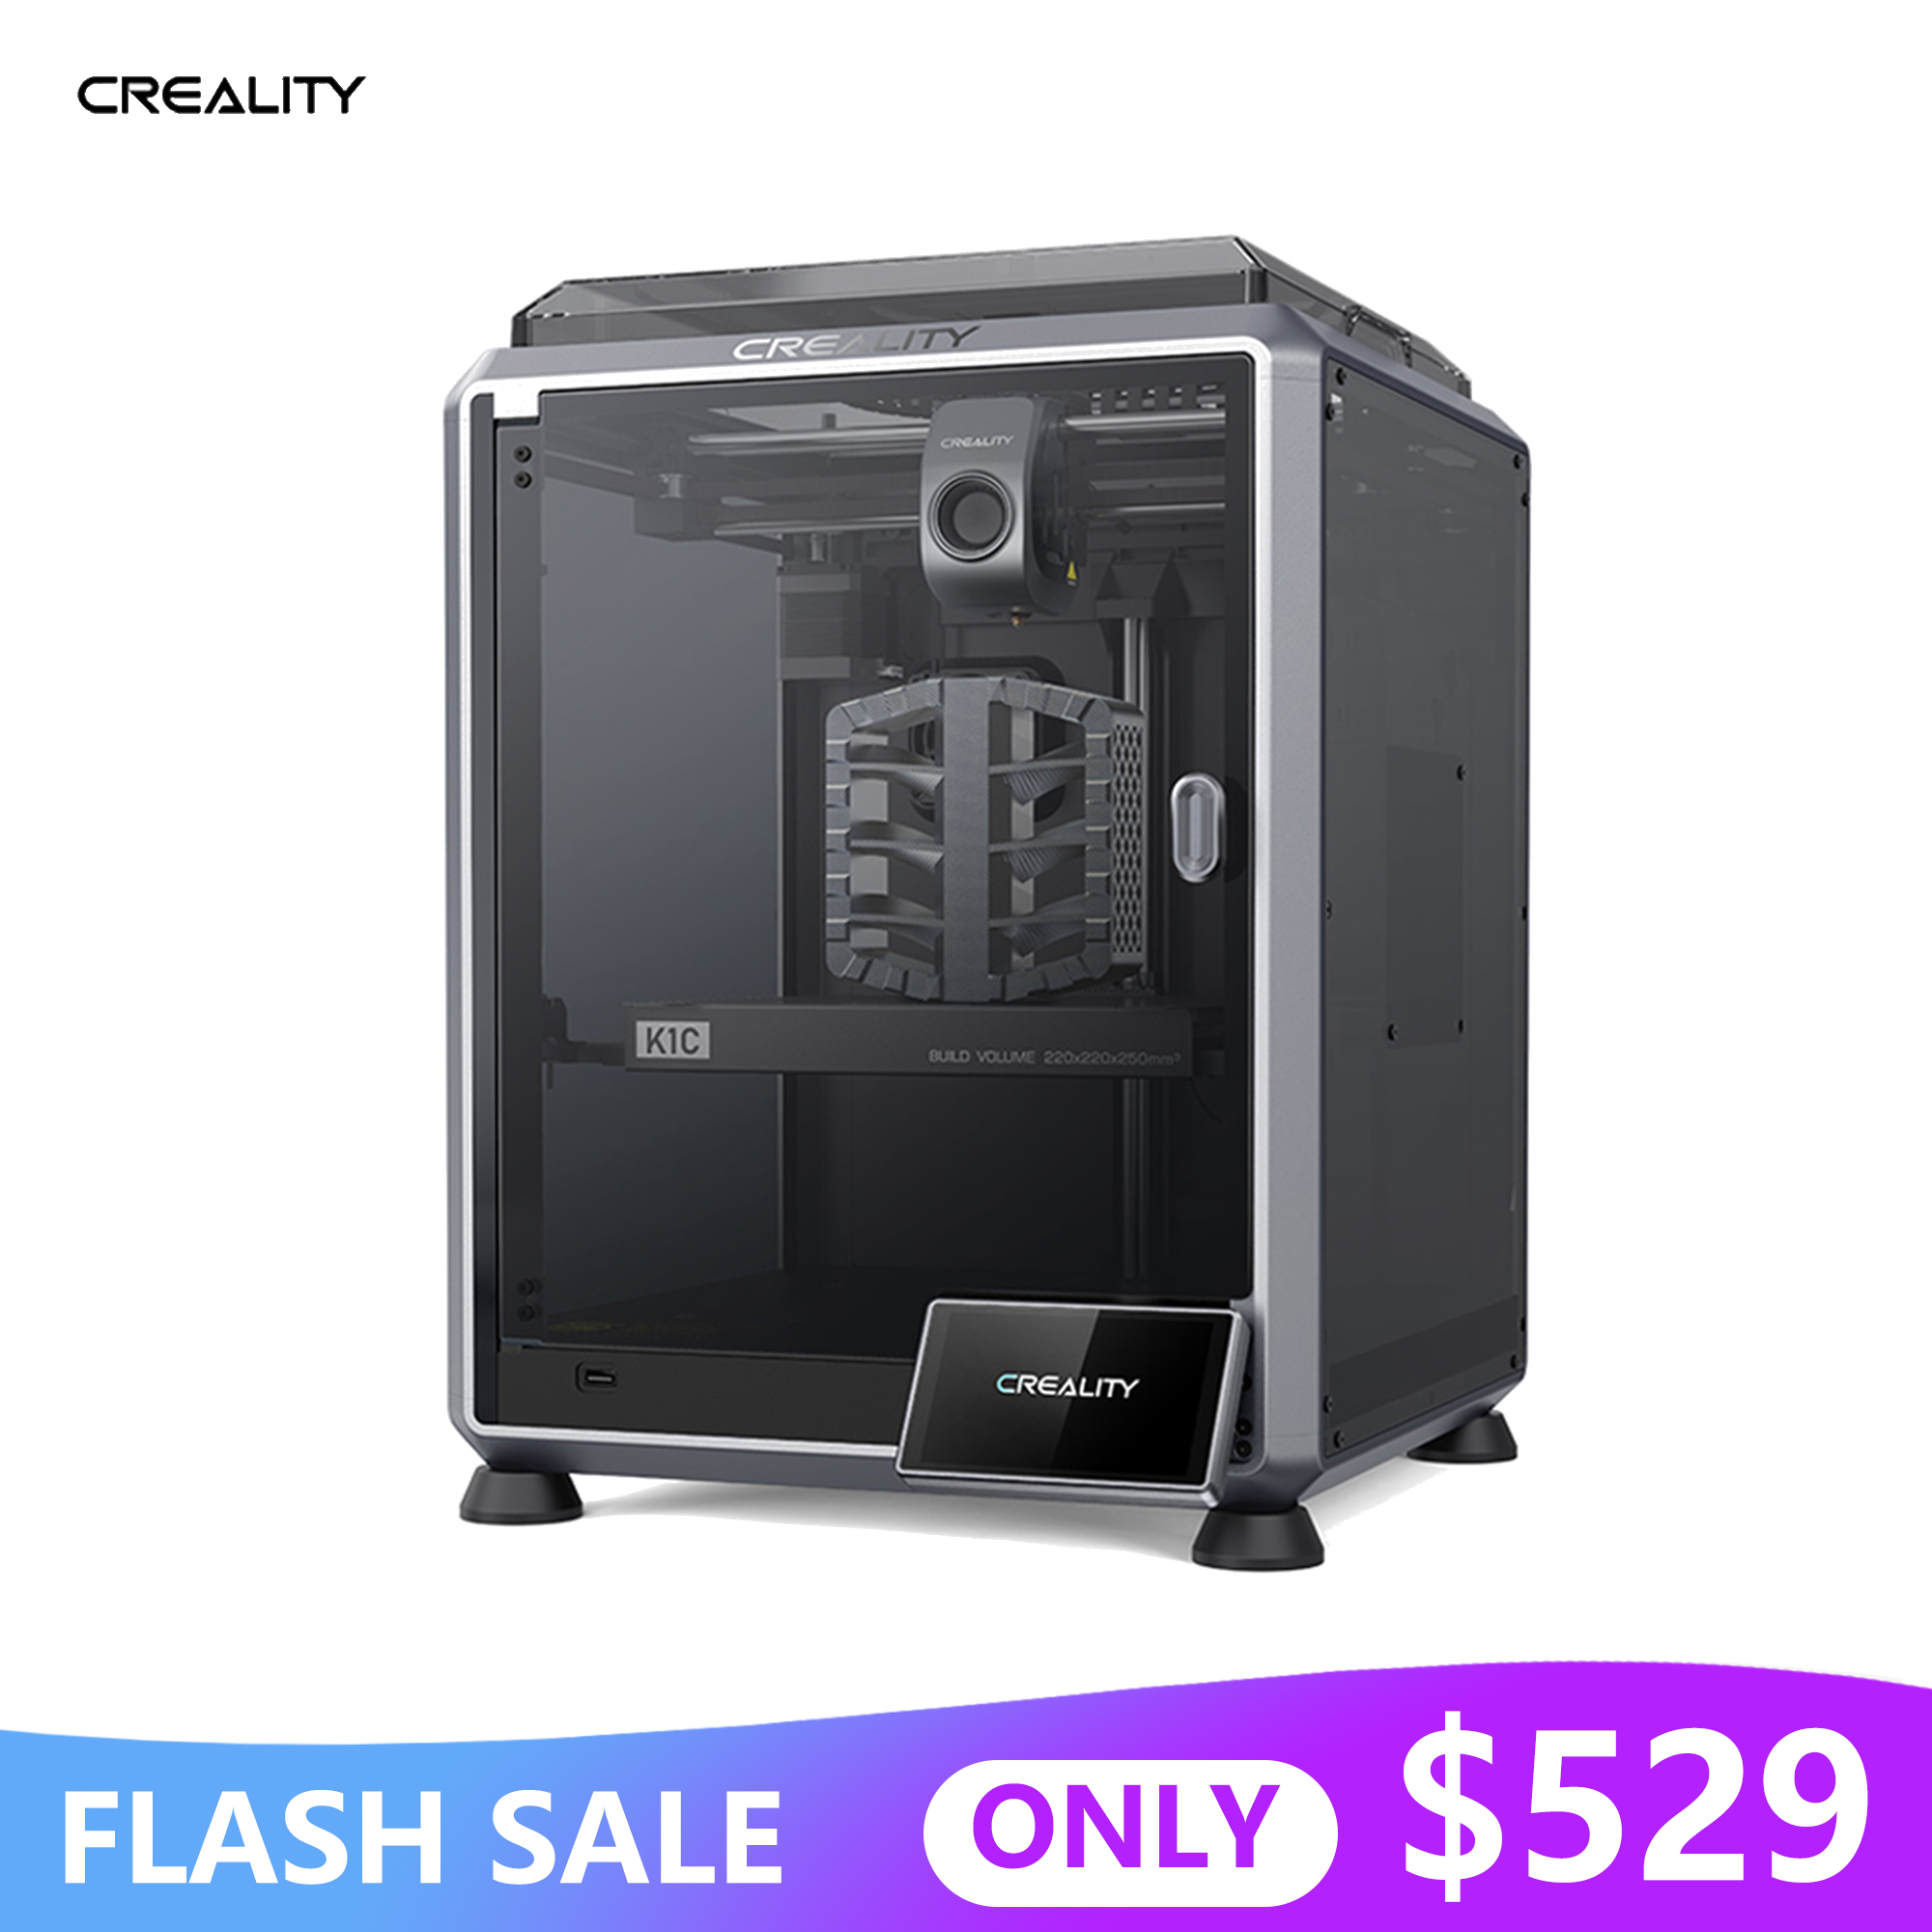
"Creality K1: Unlocking the Infinite Possibilities of 3D Printing
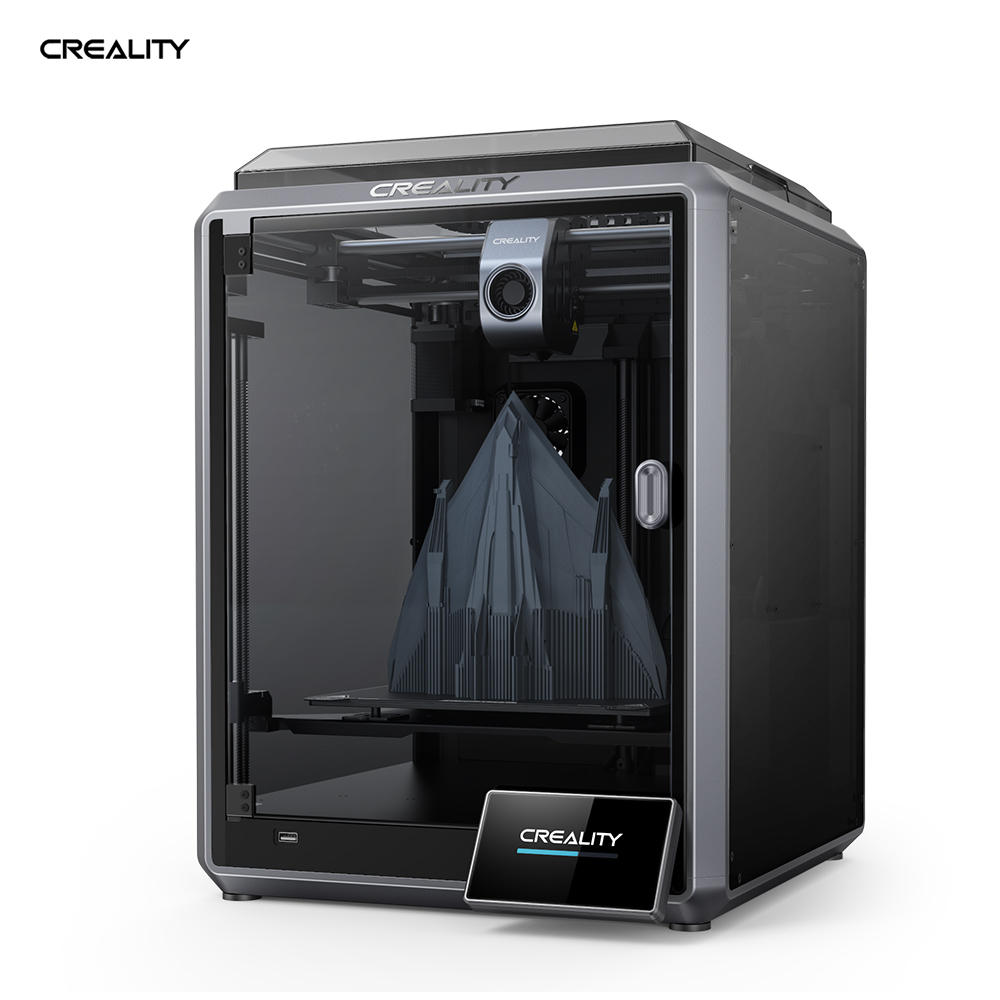
The Creality K1 is a cutting-edge printer leading innovation and redefining the field of additive manufacturing. It will take you on a groundbreaking 3D printing journey that pushes the boundaries of innovation and redefines what is possible in additive manufacturing.
The core strength of the K1 lies in its exceptional speed, which revolutionizes the printing experience. With an astonishing default speed of 600 mm/s, this powerful machine breaks traditional time limits. In just 13 minutes, the K1 easily prints detailed Benchy models, setting a new industry standard for rapid prototyping and production.
But the K1 is not just about speed, it is also a real revolution in terms of functionality and versatility. Its spacious build space of 220x220x250 gives you plenty of room to create, allowing you to bring your boldest ideas to life. Whether it's a sophisticated architectural model or a functional prototype, the K1 handles complexity with ease and delivers exceptional precision with every print.
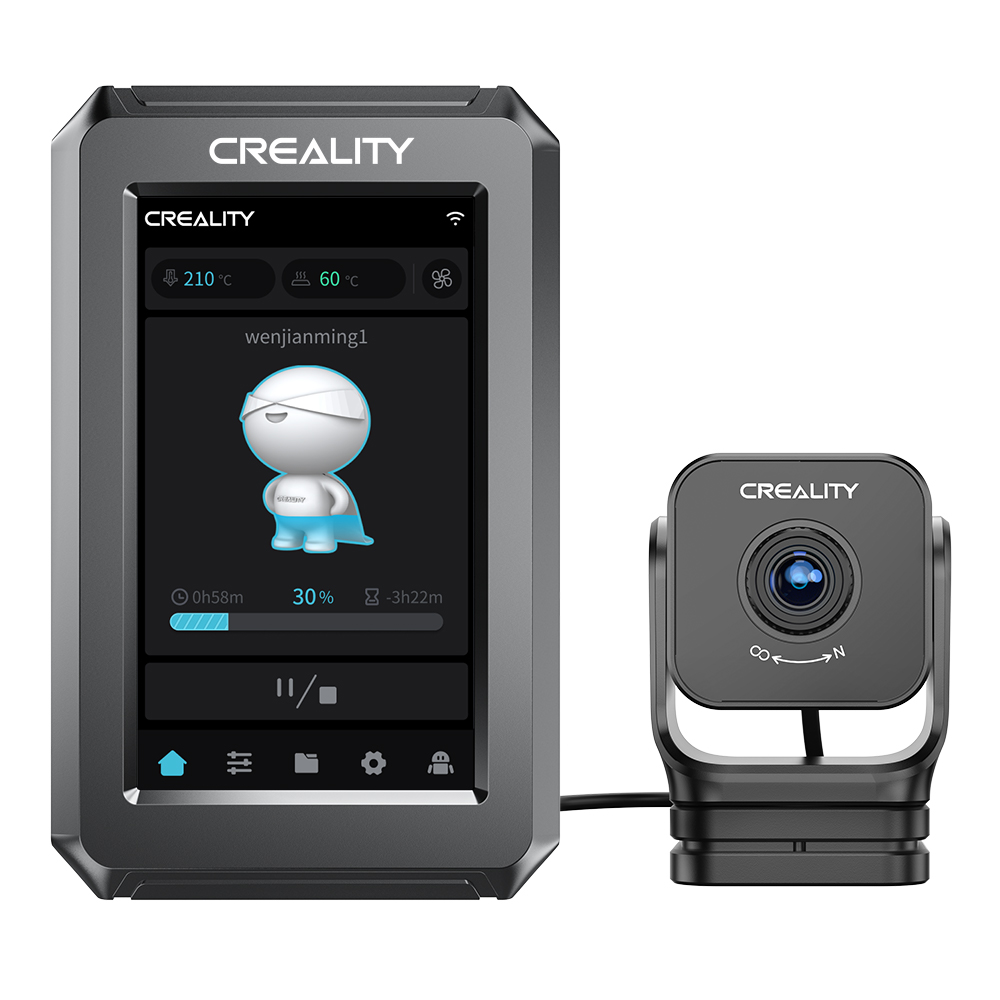
In pursuit of excellence, Creality has equipped the K1 with a host of smart features. Creality OS is an advanced operating system that integrates seamlessly with your workflow for a smooth and intuitive user experience. From your PC, smartphone or even the cloud, you can easily control printing, sync data and execute commands. K1 adapts according to your needs, easily building a bridge between your imagination and realization.
In order to meet different needs, Creality provides optional enhanced functions for K1. While Lidar and AI assistance aren't included by default, you can purchase them separately and add them to the K1, unleashing a new level of precision and automation. Seamlessly integrate the scanning capabilities of lidar to capture fine details, or harness the power of artificial intelligence for intelligent print analysis and optimization. The K1's modular design enables you to customize and upgrade printing capabilities, ensuring you are always on the cutting edge.
Along with great features, the K1 represents Creality's relentless commitment to creators, constantly pushing the boundaries. It embodies a relentless pursuit of excellence, providing more than just a printer, but the key to innovation and limitless creativity.
Experience the future of 3D printing with Creality K1 and open up a world of infinite possibilities. Redefine what's possible and embrace a new era of additive manufacturing excellence. K1 will turn your imagination into tangible reality for you, and push you into a future with unlimited imagination. "