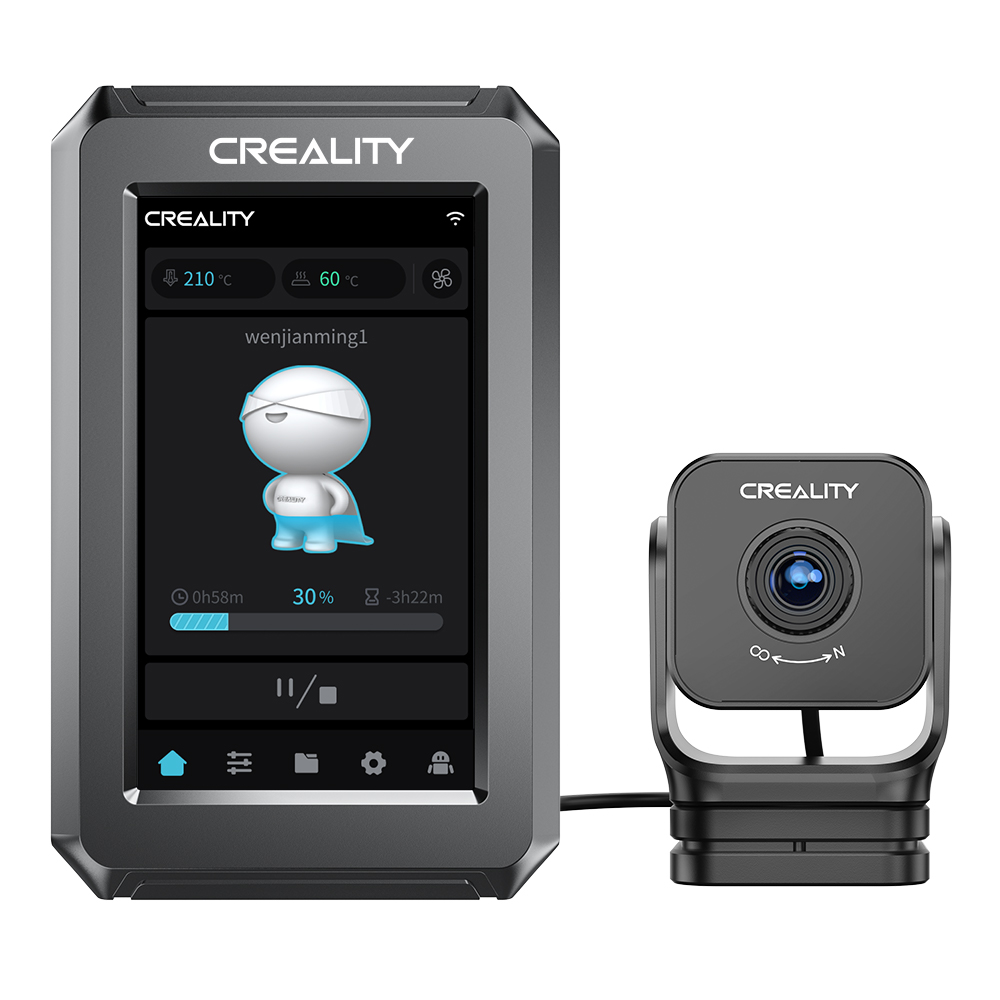
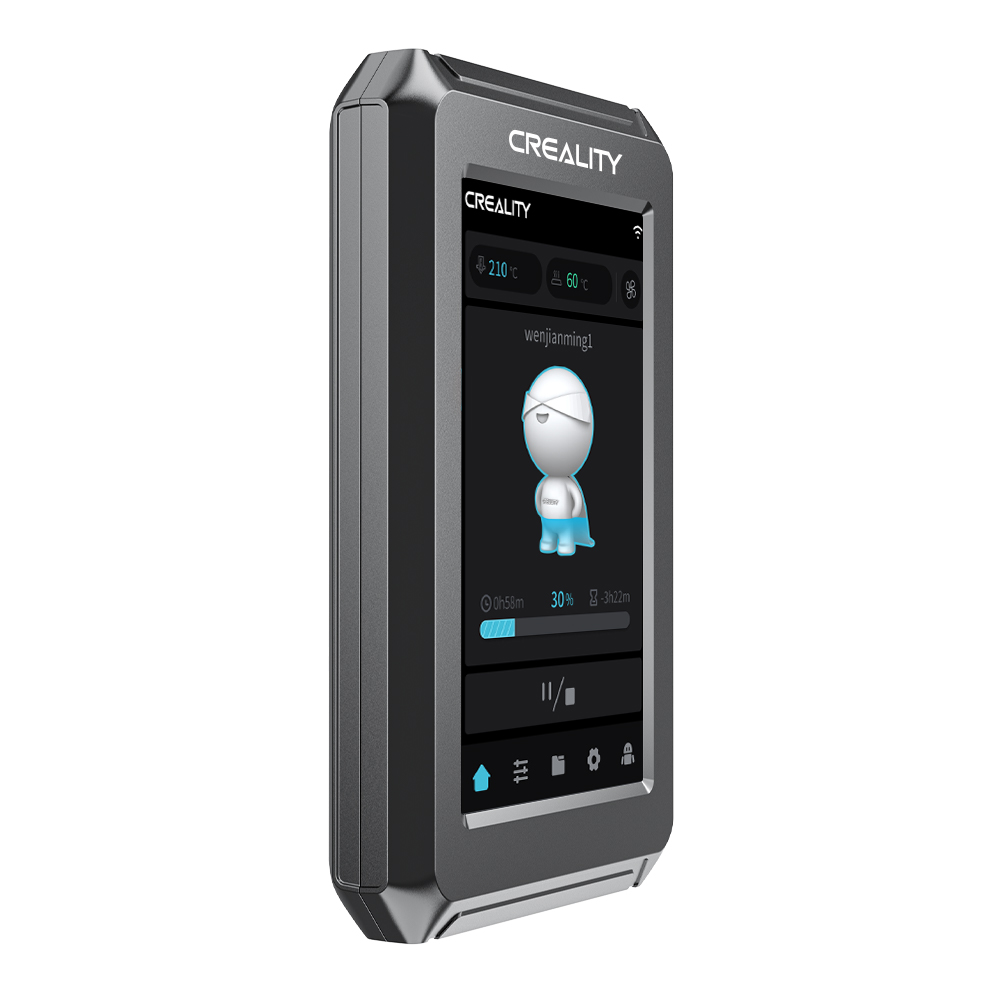
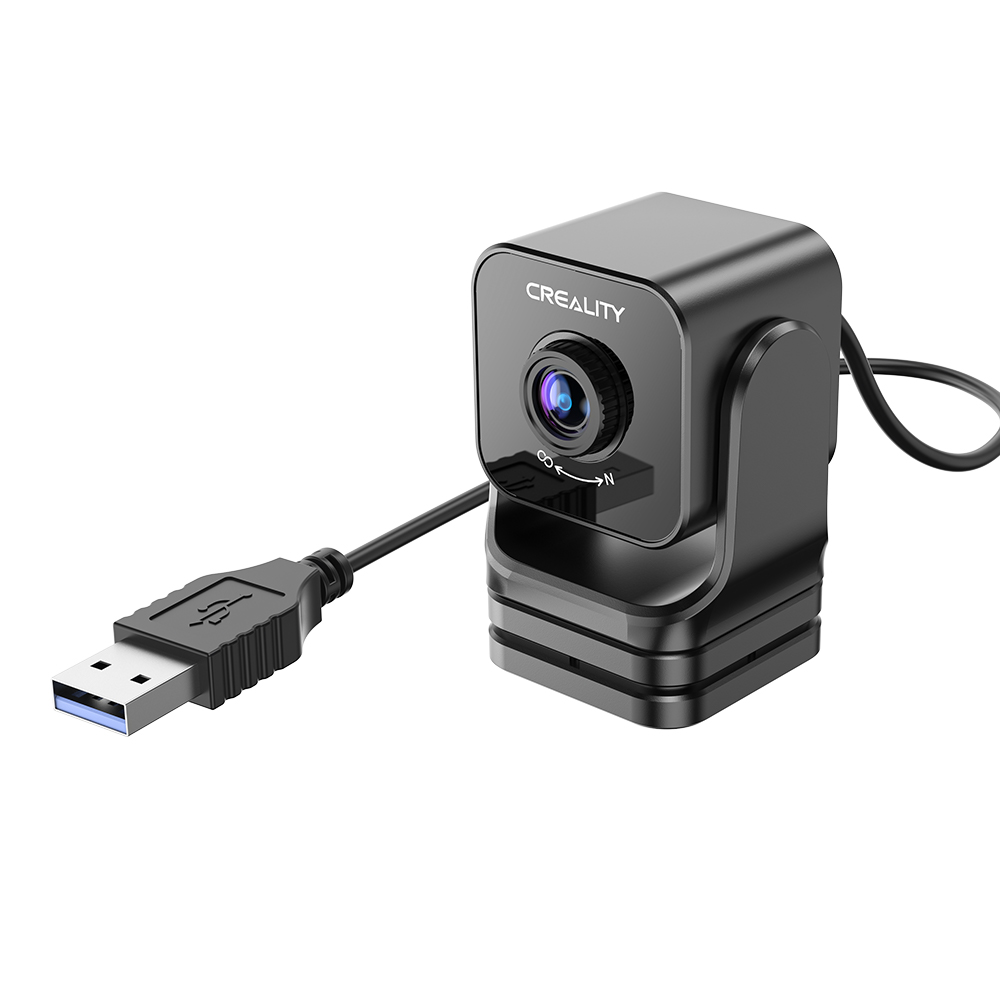
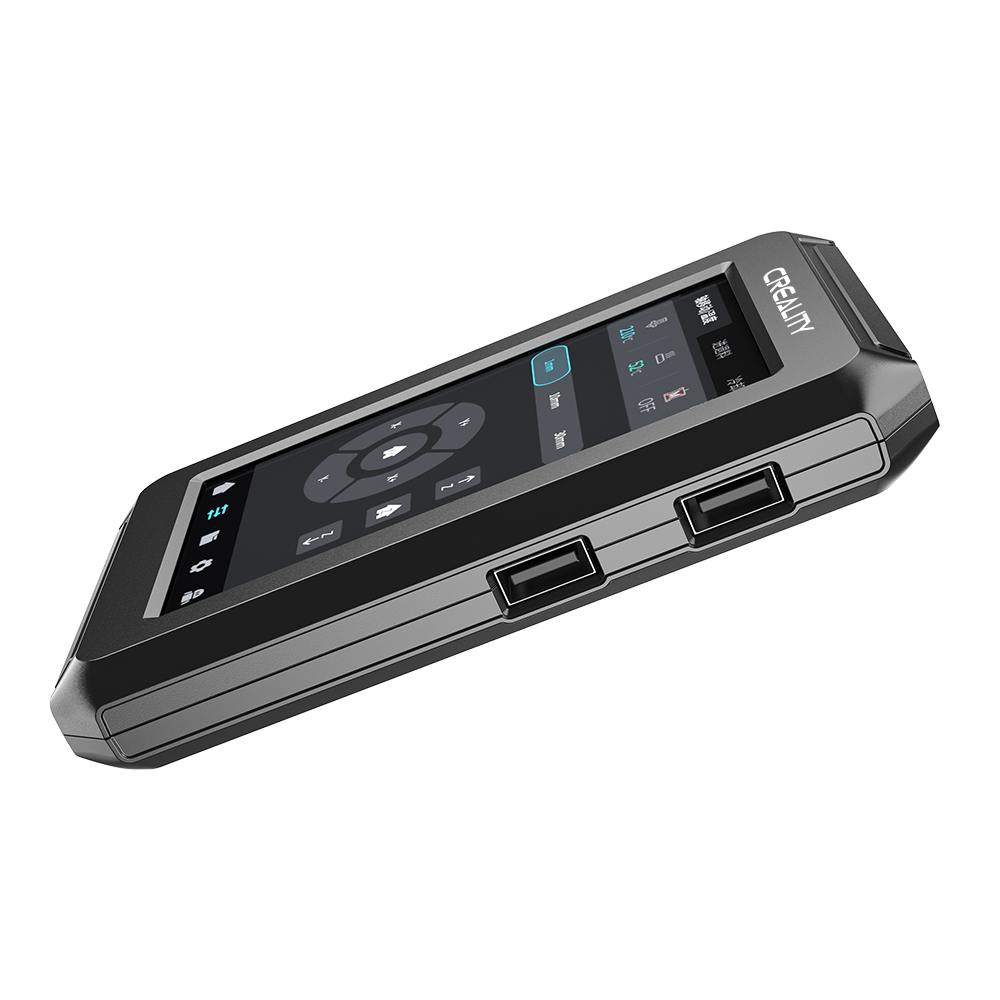
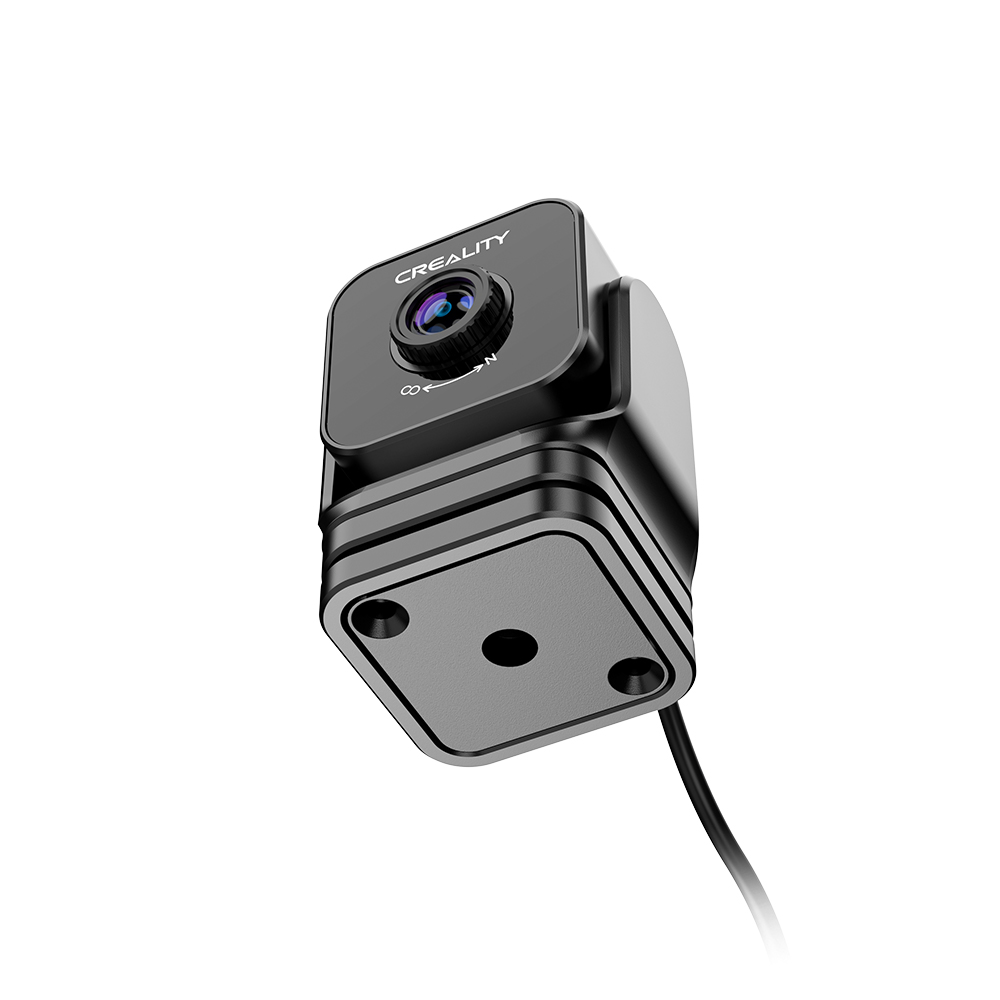
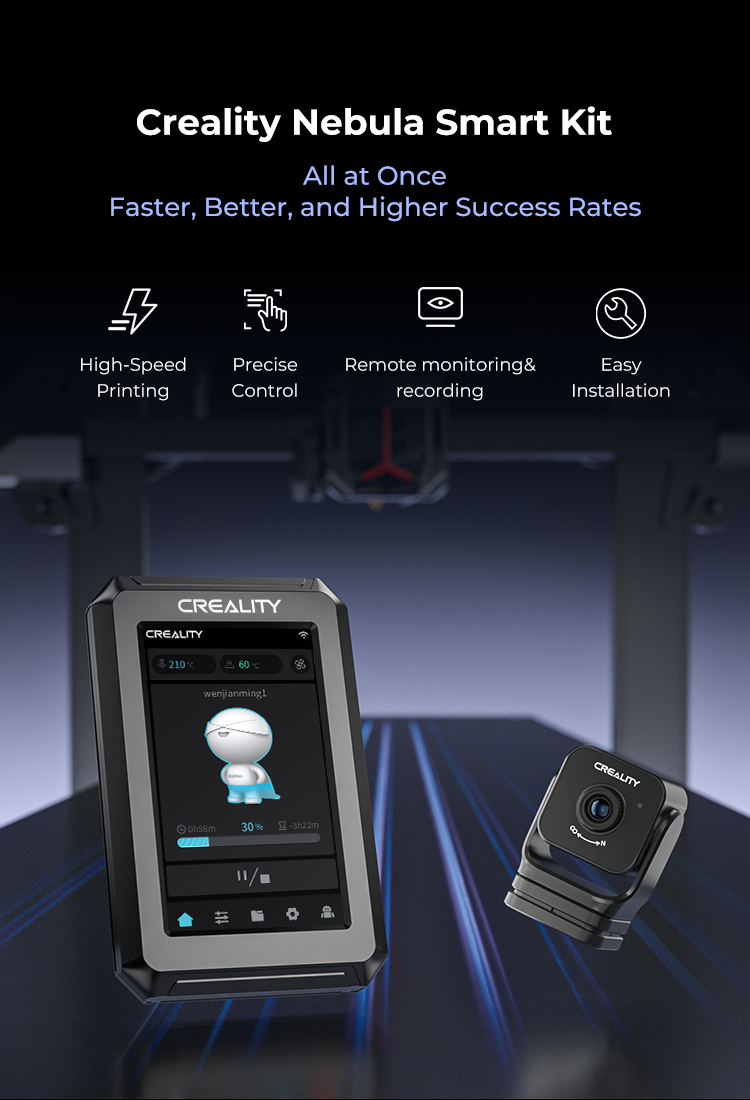
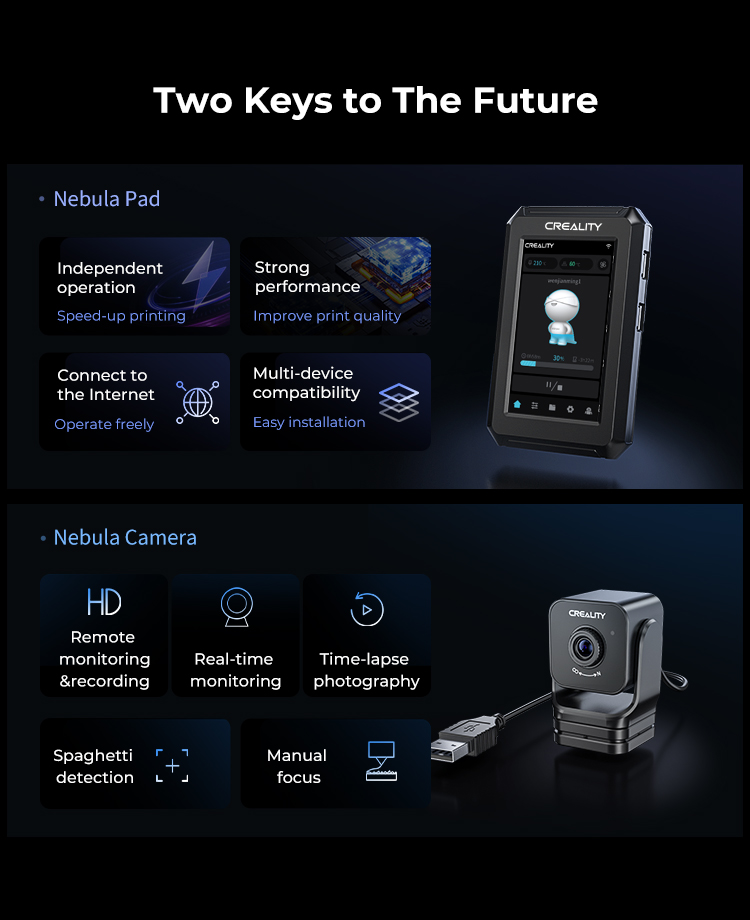
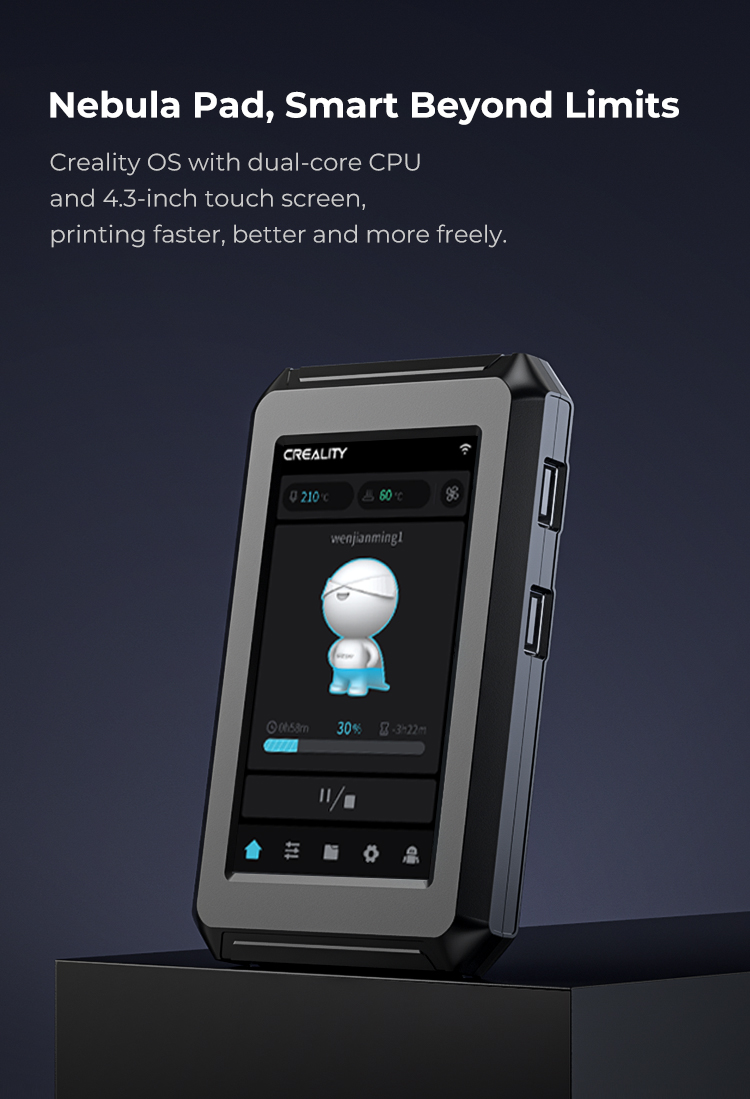
E·Fit Extruder Kit: Geared Extruder Dual Drive Extruder for 3D Printer
$ USD
$ USD

Please select product attributes before purchasing~~
Creality Upgraded Geared Extruder Dual Drive Extruder for 3D Printer
Kit includes: 1Pc Geared Extruder, 1set Installation tools package
Upgrade Highlights
1. Light Weight Design: it was upgraded and based on the “”Ender 3(Pro)/3 V2 Upgraded Direct Extruding Full Kits with Nozzles“”. NEW E FITS Extruder upgrade to the 26 motor for a light running.
2. Upgraded shell & Design, Easy Filament Feed and adjust tension
3. High Torque: This dual-drive extruder has a gearing ratio of 3: 1 which provides more torque than other extruders
4. Dual Drive: It feeds the filament smoothly and uninterrupted, with no fear of grinding or slipping in most demanding conditions
Apply to: Ender-3, Ender-3V2, Ender-3Pro, Ender-3S
E•Fit Extruder Kit Installation Tutorial
Installation Steps or You could download this manaul it directly
1. Revome the Original Hotend, original backplate, fan, air guide parts and V-Wheel assembly
2.Install the original V-wheel assembly on the extrusion backplate and fix it to the X-axis profile,adjust the tightness of the extruded backplate by adjusting the eccentric nut until it is firm.According to the length of the synchronous belt, locate the appropriate spot the extrusion backplate to clamp the synchronous belt buckle, and adjust the X-axis passive block to adjust the tightness of the synchronous belt.
3.Hotend cover installation steps:
①Remove the original hotend pneumatic connector,and then insert Teflon tube into the original hotend heatingblock.
②Clamp the fan bracket on the top of the hotend cooling block,and lock it in the cooling block with the connector until it is firm.
4.Installation steps of the hotend: Install the original blower fan,axial flow fan,and air guide parts on the fan bracket and fasten them with M3 screws and M2screws,as shown in the figure.
5. Clamp the installed hotend on the extruder and tighten the thumbscrew.
6. Install the (assembled) extruder to the extrusion backplate and fasten it with an M3 Screw. Connect the motor extension cable with the original E-axis motor cable and them plug in the extrsuion motor.
7. The motor extension cable male end is plugged into the extrusion motor, and the female end is plugged into the E-axis motor cable. As the picture shows.
Based on 0 reviews
Write A Review
Ask A Question

